Transform Your Home: Simple Organization Tips for the New Year
- Cindy Thomas

- Jan 11
- 4 min read

The holidays are over, the New Year came and went, and now it’s time to settle in for the rest of winter. This can be a challenging time of year when it’s still dark and cold, and we know spring is just around the corner — so close, yet still out of reach.
That’s why January and February are great times to get organized! Did you know that January is National Get Organized (GO) Month? GO Month is a nationwide initiative designed to inspire individuals and families to declutter and organize their homes, setting the tone for a stress-free year.
The following tips will help you organize your home in the New Year.
Let’s dive in!
Make a Plan: Visualizing Your Organized Home

It’s easy to tell yourself, “This is the year I’ll get the entire house organized!” But when it comes to implementing that eager claim, it’s common to get through one drawer and give up in exasperation.
If you have an outline and a vision, you’re much more likely to tackle your goal.
Here’s what I suggest:
Carve out fifteen minutes and begin by thinking about how you want your home to look and feel. We tend to make general statements about our goals, but we don’t take the time to truly imagine them when they’re achieved. Without a vision, we spin our wheels and get nowhere fast. You have to know where you’re going if you ever want to get there!
Next, jot down ALL the spaces you want to organize. This may be a long list, but keep it high level if you get overwhelmed. There’s no need to list every single closet and drawer unless you’re the detailed type.
Now that you’ve listed every space, go back through the list and assign a number to each space in order of priority. The kitchen, living room, and bedrooms probably top your list, and I’d recommend keeping daunting spaces like garages, attics, or that weird space under the stairs as lower priorities.
Look at your number one priority (lemme guess…the kitchen?) and choose a smaller portion of that space that you could get started with. In this example, you could choose your countertops, a junk drawer, the fridge, or a small pantry — you get the idea.
Get one more piece of paper and brainstorm how you want that space to look and feel. For some, they want clear counters at the end of every single day. Others are okay with a bit of stuff out as long as the dishes are always done. Describe your ideal space so you are pointed in the right direction.
Forget the rest of your daunting list and begin with the small step you’ve chosen. The rest of this blog post will walk you through how to tackle that space, and you can apply it to all the others, too!
Once you’ve finished your first small space, repeat step five for the next one on your list and keep chipping away one step at a time.
Sort & Declutter: It Gets Worse Before It Gets Better

“Clutter is nothing more than postponed decisions.”— Barbara Hemphill
The first step to organizing any space (after you’ve made your plan!) is to sort through the items.
You’ll begin pulling everything out and making decisions about each individual thing. I recommend setting up boxes and bags for common categories.
Keep
Donate
Garbage
Recycle
Elsewhere
Place each item into their corresponding category. If you come across something you want to keep but doesn’t belong in the space, place it in the “elsewhere” box. This will keep you focused on the task at hand rather than distracted by going into other rooms to put something away.
I always remind my clients that the mess gets worse before it gets better because you have to pull everything out. Don’t let this discourage you! It’s a normal part of the process.
After you’ve sorted through everything in the space, take out the trash and recycling, place the donation box somewhere out of the way, and then it’s time to tackle the “Keep” category.
Categorize & Contain: Things Begin to Take Shape

Now that you’ve sorted and decluttered, it’s time to decide how to arrange the items you’re keeping. As you go, continue to question whether it’s necessary to keep each object.
Here are a few tips:
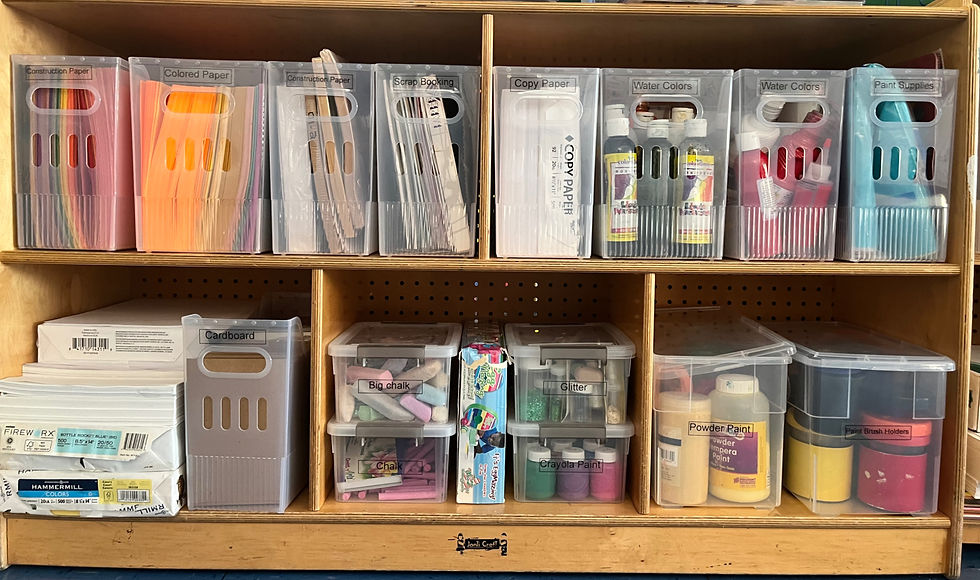
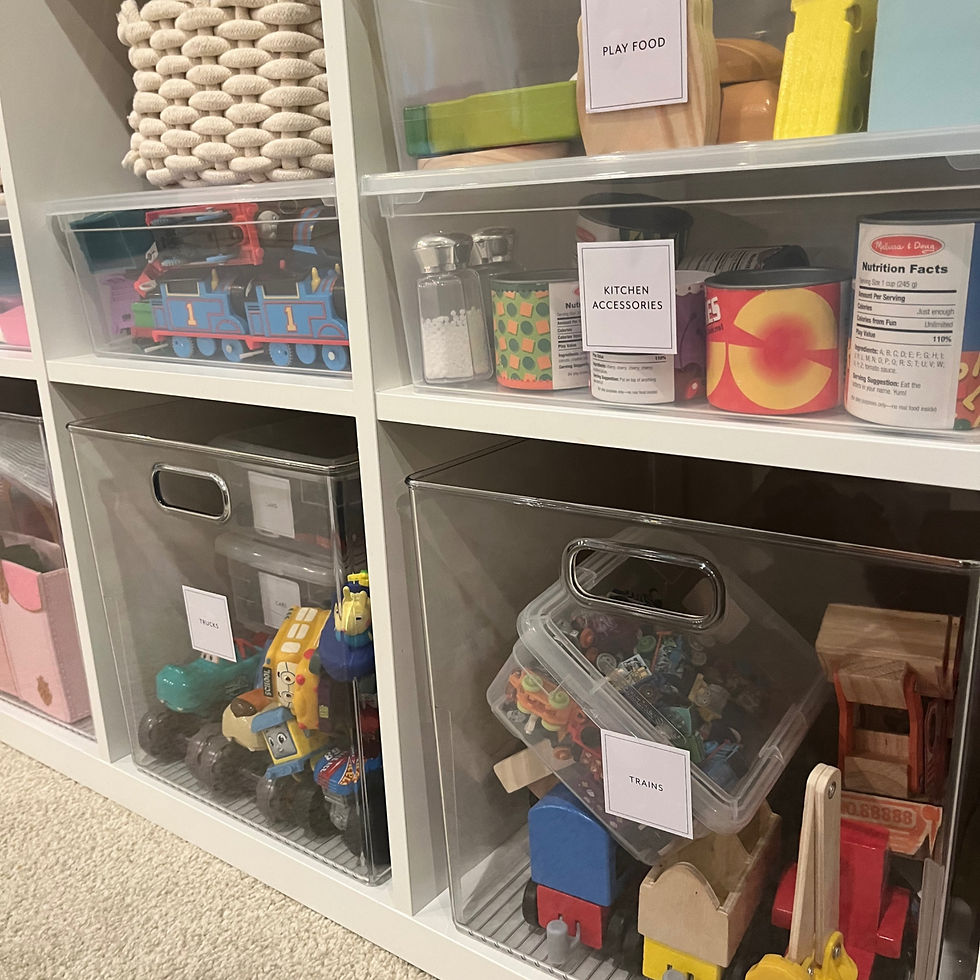
Keep like items together and group them into categories. Examples: utensils, cookware, bakeware, rarely used, etc.
Shop your home first. Check for bins, baskets, or boxes that you already have to store each category before you head to the store.
Keep things simple. Use containers that fit easily in the space. Store frequently used items in prime real estate spaces and if an item is rarely used, find a place for it out of the way.
Leave wiggle room. Don’t stuff everything in so it only fits when perfectly arranged. Think of how you’ll use the space on a regular basis.
Label, Label, Label: It Truly Helps!

Professional organizers LOVE their label makers. We’ve been known to have entire conversations about them!
It may seem like overkill to you, but labeling makes all the difference in keeping up the space you just organized. If you have a family, the labels tell them exactly where something goes. And if you live alone, you’re likely to forget some of the spaces you decided things belong.
Labels allow you to truly create, “A place for everything and everything in its place.”
Establish Daily Habits: Avoid Backsliding
Maintaining an organized home is easier when you establish routines. Spend 10 minutes each day tidying up, and encourage family members to put items back in their designated spots. With labeled shelves and bins, they have no excuse to claim they don’t know where things go! 😆Small daily actions prevent clutter from piling up all over again. It’s all about creating new habits, and though it’s challenging, it’s definitely worth it!
Ask for Support: It’s What We Do!
The do-it-yourself approach isn’t a good fit for everyone. Maybe you’ve already tried getting organized on your own, but you keep getting stuck. Having a supportive expert by your side along the way can make all the difference.The New Year is a great time to hire a Professional Organizer! Contact me for a quick chat to learn how it works and see if we’re a good fit.
I look forward to hearing from you!
Until next time, Happy Organizing!
Cindy


Comments